Sublimation printing has revolutionized the way custom apparel is created, with colorful prints that are both durable and long-lasting. For creating custom t-shirts, mugs, and other apparel, you’ll need a sublimation printer to do the job.
Unlike traditional printing methods, the process of sublimation turns the solid dye into gas, enabling the design to bond with the fibers in the fabric for a smooth and seamless finish. In this passage, we are going to guide you step by step through using a sublimation printer for shirts, from setup to pressing.
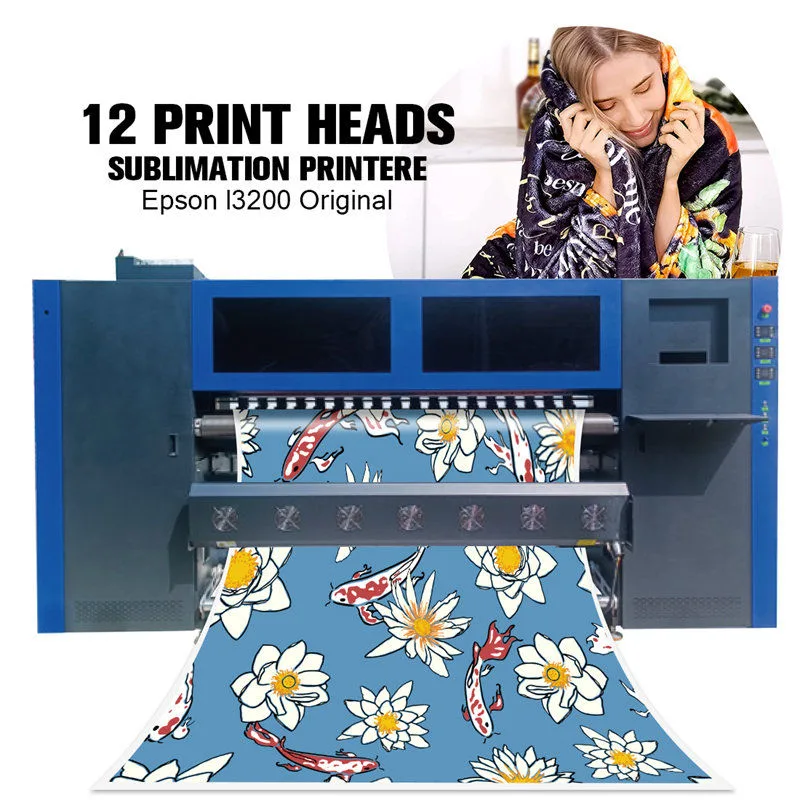
Set up the sublimation printer according to the manufacturer’s instructions. Make sure the printer has the sublimation ink in, the settings in the printer control software are set for the best possible quality, the printer is connected to your computer and you are familiar with any design software (such as Adobe Illustrator and Photoshop) that you may need to create custom designs.
When designing for sublimation, it’s important to use high-resolution images (ideally 300 DPI) to ensure that the print quality is sharp. You’ll also need to flip or mirror your design before printing, as the image will be reversed when transferred onto the shirt. This step is crucial for text or designs that are directional.
Once your design is complete, it’s time to print it. Place the sublimation paper into the printer, making sure it’s oriented correctly. Choose the “best quality” print setting in your printer preferences. The colors may appear slightly washed out on the sublimation paper, but this is normal. Vibrant colors will come once the design is transferred onto the shirt.
While printing the design, prepare the shirt and heat press, making sure the shirt is clean and well-ironed as wrinkles will distort the print. You can press the shirt with the heat press for a few seconds to smooth out any creases.
Next is to set your heat press machine to the recommended temperature and time settings, typical settings for sublimation usually require 375°F or 190°C and 45-60 seconds at medium pressure.
Check your sublimation printer and heat press manufacturer instructions for more precise settings because the settings vary from one machine to another.
Once the heat press is up to temperature and the shirt is ready, place the sublimation paper with the design printed on it in the correct position on the t-shirt. Ensure the design or image is properly placed and straight, if needed, use resistant tape to hold the paper in place.
Carefully place the shirt with the sublimation paper into the heat press. Close the press and let it apply heat and pressure for the recommended time. The heat will turn the sublimation ink into a gas that will bond with the shirt’s polyester fibers. When the time is up, carefully open the press and remove the shirt.
Once the shirt is out of the heat press, let it cool down for a minute or so. This will let the print set in and be completely permanent. Unlike vinyl or screen printing, this sublimation print isn’t going to feel as if it’s sitting on the fabric, but instead becomes part of the material, leaving a soft, smooth surface.
Inspect the finished product. The colors should be bright, with no fading or peeling. Sublimation prints are permanent and will neither crack nor fade over time, even after multiple washes. If everything looks fine, your personalized shirt is ready to wear.
By following these steps, you will be able to create professional, custom-designed shirts with the use of a sublimation printer.
Guangzhou Baiyin Electronics Co., Ltd
PRODUCTS
COMPANY